
Our green bean season is all but finished here in northeast Wisconsin, but a friend of mine down in Texas mentioned that she just planted her fall crop of beans and it is coming along nicely. So, for my southern gardening friends, and for northern gardening friends to pin for next season, I’m sharing the dilly bean recipe that I made up earlier this year.
Home canned dilly beans are another recipe that always reminds me of mom, like the pickled beets I shared a couple of weeks ago. Vinegar pickles of all different types were a staple growing up on the farm, from the jewel red beets to the slippery pickled mushrooms. I remember one year when mom did a huge crock of some sort of cucumber pickles in a corner of the kitchen, but I don’t remember what recipe she used. I have to ask my siblings and see if anyone else remembers. Pickled veggies add a great crunch to any meal and may help aid digestion by adding a bit of acidity to the mix. Pickling (adding vinegar and salt) also allows you to water bath can vegetables that would otherwise require pressure canning.
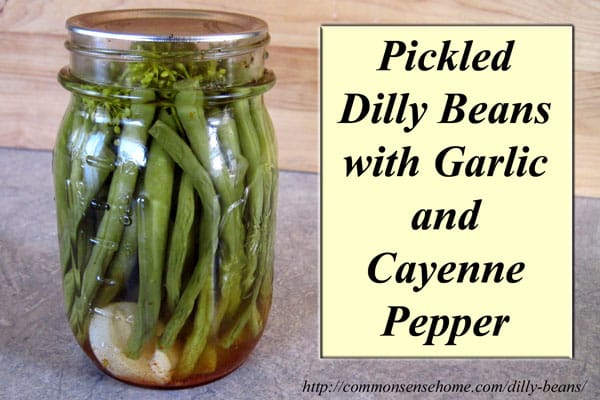
Pickled Dilly Bean Recipe for Canning
Adapted from the Ball Blue Book
Makes around 4 pints or 2 quarts
Ingredients
- 2 pounds green beans
- 1/4 cup canning salt
- 2 1/2 cup vinegar
- 2 1/2 cups water
- 1 teaspoon cayenne pepper, divided
- 4 cloves garlic
- 4 heads dill
Directions
Prepare your canner, jars, lids, funnel, tongs, chopstick or thin plastic spatula (for removing air bubbles) and gather your ingredients.
Trim ends off green beans so they fit neatly into a jar. I cooked up the odd bits that didn’t fit for dinner. ![]()
Make your pickling brine by combining salt, vinegar and water in a large stockpot. Bring to a boil.
Add 1/4 teaspoon cayenne pepper, 1 clove garlic and 1 head dill to each pint jar. Add 1/2 teaspoon cayenne pepper, 2 cloves garlic and 2 heads dill to each quart jar. I like to put the garlic and cayenne in the bottom and stuff the dill in at the top.
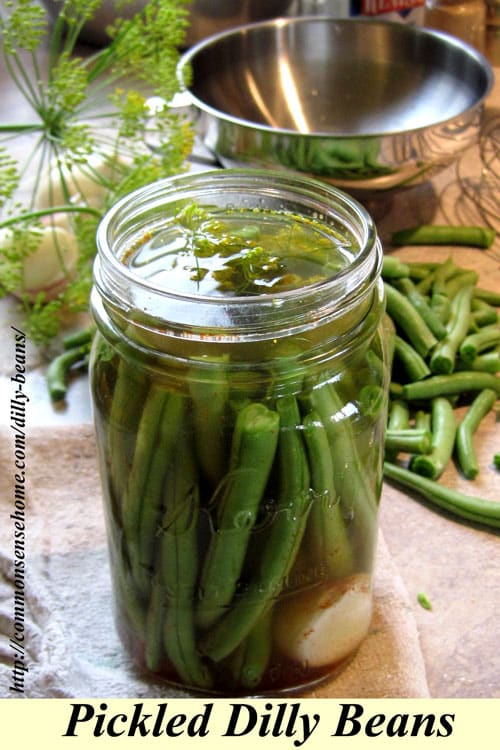
Pack beans lengthwise into hot jars, leaving 1/4 inch headspace. Ladle hot brine over beans, leaving 1/4 inch headspace. Remove air bubbles with a wooden chopstick or thin plastic spatula. Never stick a metal knife into your jars, as it may cause nicks that could lead to jar failure.
Wipe rims clean with damp cloth. Screw on two piece lids. Process pints and quarts 10 minutes in a boiling water bath canner. When processing time is finished, remove jars from canner and place onto a towel on the countertop to cool.
Note: Remember to measure headspace from the inside of the lid to the top of the food or liquid. It’s important to use correct headspace because the recipes have been tested so that the processing time allows for all the air to be driven out of the headspace, ensuring a good seal and safe preservation.
And that’s all there is to it! Now you can have your own unique condiment with a little heat and spice to liven up winter meals, or an interesting hors d’oeuvre. Serve it up for holiday gatherings and listen to your friends and relatives comment about how they’ve never had anything quite like that before (unless, of course, you hang out with other home canners ![]() ).
).

- 2 pounds green beans
- 1/4 cup canning salt
- 2 1/2 cup vinegar
- 2 1/2 cups water
- 1 teaspoon cayenne pepper, divided
- 4 cloves garlic
- 4 heads dill
- Prepare your canner, jars, lids, funnel, tongs, chopstick or thin plastic spatula (for removing air bubbles) and gather your ingredients.
- Trim ends off green beans so they fit neatly into a jar.
- Make your pickling brine by combining salt, vinegar and water in a large stockpot. Bring to a boil.
- Add 1/4 teaspoon cayenne pepper, 1 clove garlic and 1 head dill to each pint jar. Add 1/2 teaspoon cayenne pepper, 2 cloves garlic and 2 heads dill to each quart jar. I like to put the garlic and cayenne in the bottom and stuff the dill in at the top.
- Pack beans lengthwise into hot jars, leaving 1/4 inch headspace. Ladle hot brine over beans, leaving 1/4 inch headspace. Remove air bubbles with a wooden chopstick or thin plastic spatula. Never stick a metal knife into your jars, as it may cause nicks that could lead to jar failure.
- Wipe rims clean with damp cloth. Screw on two piece lids. Process pints and quarts 10 minutes in a boiling water bath canner. When processing time is finished, remove jars from canner and place onto a towel on the countertop to cool.
- Remember to measure headspace from the inside of the lid to the top of the food or liquid. It’s important to use correct headspace because the recipes have been tested so that the processing time allows for all the air to be driven out of the headspace, ensuring a good seal and safe preservation.
The post Pickled Dilly Beans with Garlic and Cayenne Pepper appeared first on Common Sense Homesteading.